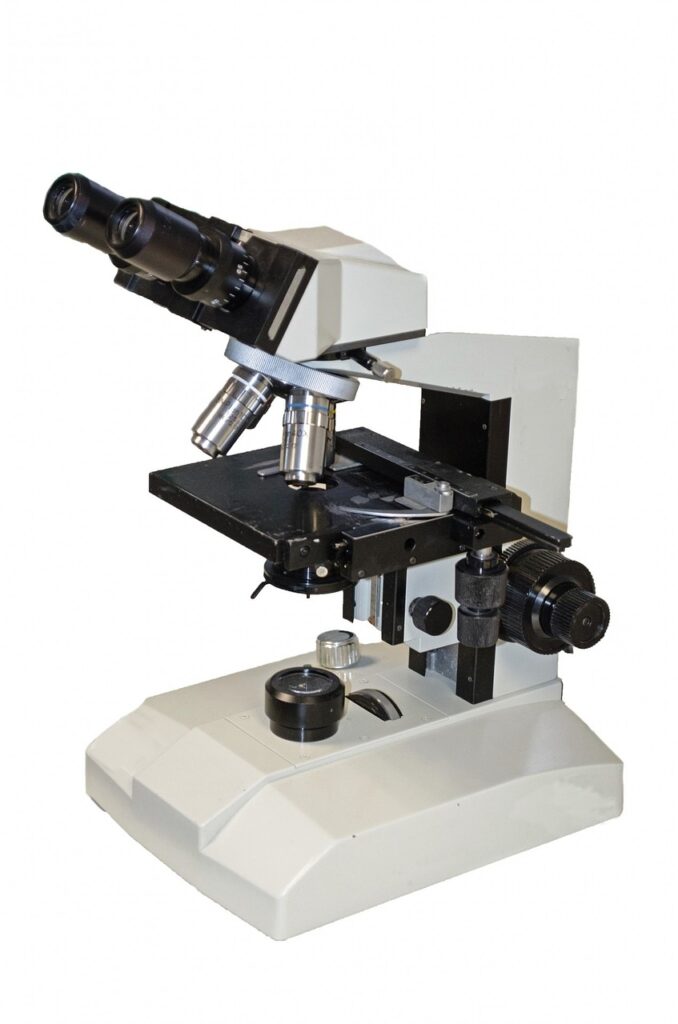
Simple microscope

- Uses- view objects or specimens in a clear and magnified way.
- The main component present in the microscope you use in your lab- double convex lens (biconvex lens) with a short focal length.
- Biconvex lenses can focus parallel light rays into a single point, which is important for visualizing intricate details on your specimen. The double lens also helps in providing good magnification of almost up to 300X
- A shorter focal length corresponds to a higher magnification.
- The sample should be stained.
- The image produced by a microscope is erect, magnified, and virtual (cannot be projected on a screen)
- Parts of the microscope:
- Eyepiece- 10X or 15X, the main lens
- Base- for mechanical support
- Tube- connects the eyepiece to the objective lens
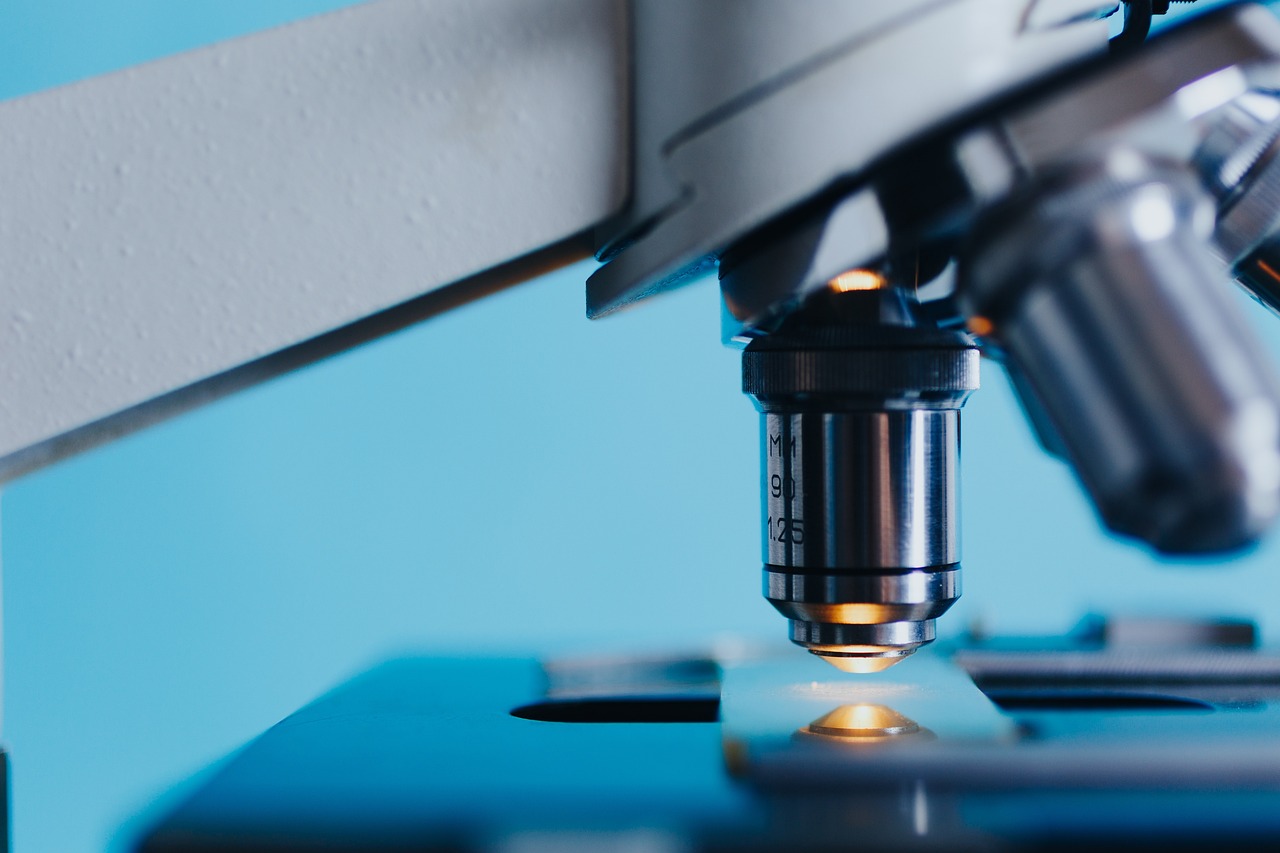
- Objective lenses- 10X, 40X, 100X
- Nosepiece- the objective lenses rest on this- can be rotated
- Diaphragm- control the amount of light
- Stage- platform used for placing the slide
- Stage clip- used to hold the slide on the stage
- Knobs- two types- coarse adjustment and fine adjustment
- Condenser- focus the light on the sample
- Magnifying power
- M= 1 + D/F
- M magnifying power/ magnification
- D least distance of distinct vision
- F focal length
- M= 1 + D/F
- Benefits-
- Ease of use
- Used for most microbiological applications
- Limitations-
- Low resolution
- Low magnification compared to compound microscope
- Staining required
Phase contrast microscopy
- Used for seeing transparent or translucent specimens without staining them
- Basic principle- converts phase shifts in the light to brightness shifts in the specimen.
- The microscope alters the wavelength of light passing through the specimen and generates an image.
- As you have learned in your 12th-grade physics, when light travels from one medium to another, the velocity changes. This deviation is proportional to the difference in refractive index between the two mediums.
- Benefits-
- Quick and efficient
- No fixing or staining is required
- It enhances the contrast of transparent images
- Biological processes can be seen and recorded as we are not killing or staining them
- Best for real-time monitoring
- Limitations-
- The boundaries cannot be visualized properly
- Ideal for thinner samples only
- Expensive instrumentation
- More light is needed for phase contrast, hence more power consumption
Fluorescence microscopy
- The use of florescent light to visualize structures of organic and inorganic substances
- A high-intensity light source excites the florescent components (fluorophores) present in your sample. When the sample emits a lower energy light of a longer wavelength, the objective lens of the fluorescence microscope detects the image.
- The main components are two filters-
- Excitation filter- transmits only light that excites the specimen dye
- Emission filter- filters out the light at the excitation wavelength after it has interacted with the sample
- How does fluorescence work? When certain compounds in your specimen are hit by a photon, they can absorb the energy of that photon to get into an excited state. This is filtered out by your emission filter and finally detected by the objective lens.
- Benefits
- To study specific features of your specimen like your microorganisms
- It can enhance the 3D features of the sample
- Helps us visualize specific proteins (by tagging them with florescent molecules)
- Helps us see the motility and ion transport processes
- Medically, they help detect tumor cells and other anatomical features
- Highly sensitive and selective
- Types-
- Epi-Florescence microscope
- Confocal microscope
- Limitations-
- The fluorophores lose their fluorescing capacity in a process called auto-bleaching
- Cells are prone to phototoxicity
Electron microscopy

- A beam of electrons instead of a beam of photons (light)
- It can be used to get high-resolution images of biological and non-biological substances.
- Working principle- A beam of electrons passes through a vacuum tube and eventually reaches the sample. A high voltage is required for this. The beam of electrons is focused on the sample with the help of magnetic lenses
- An electron gun releases the beam of electrons into the vacuum tube.
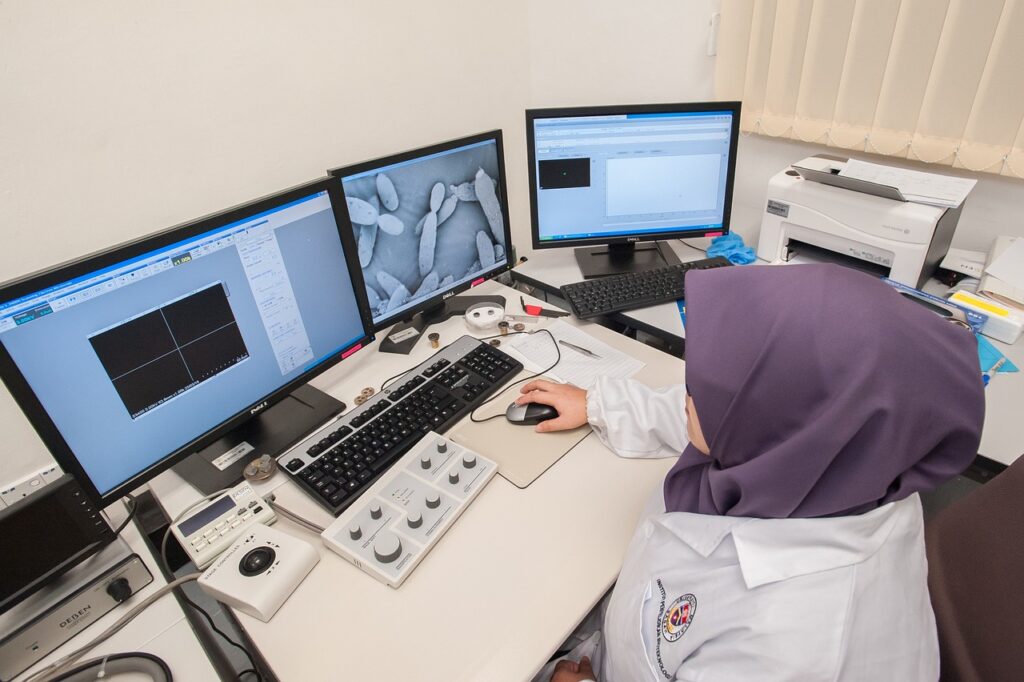
- The interaction between the electrons and the sample generates an image.
- Two main types- Transmission Electron Microscopy and Scanning Electron Microscopy
- Applications-
- Identify the structure of cells, tissues, and organelles
- Diagnosis of viral infection
- Identify cell culture isolates
- Select PCR primers
- Quality control
- Identification of 3D structures of certain proteins which cannot be detected by X-ray crystallography or NMR spectroscopy
- Limitations
- Expensive
- Not available in many laboratories
- Requires a special technique- fixation
- Cannot detect low levels of virus load
TEM
- It is used for viewing thin samples
- The specimen should be ultra-thin
- It is used to study the structure and morphology of cells and tissues
- Gives 2-D projections of the sample
- Its magnification power is almost 2 million times better than a regular light microscope!
- Main components-
- Electron gun – to produce the beam of electrons
- Image producing system- with an objective lens and intermediate & projector lenses
- Image recording system- consists of a florescent screen with a digital camera attached
- The image obtained will be monochromatic (black and white)
- It can also be captured digitally and stored on a computer, where we can add colors to make the visualization better
- Limitations-
- It is not easy to handle a big instrument
- Sample preparation is tedious
- Expensive equipment
SEM
- It is used to visualize the surface of our specimen
- It gives the 3-D projections of the surface of the specimen
- The electrons are reflected or knocked off the surface of the cell or specimen
- Benefits-
- No specific sample preparation techniques are required
- Can accommodate large bulky specimens
- Higher resolution than TEM
- Limitations-
- Special training required for equipment handling
- A small risk of radiation exposure
- Vacuum environment

